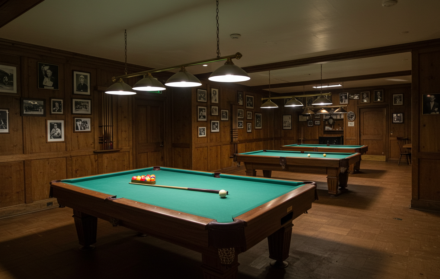
How To Set Up an American Pool Table: Step-by-Step Guide for a Professional Finish
Whether you’re a casual player or a serious American pool enthusiast, a correctly installed table makes all the difference in how the game plays. Poor levelling, rushed cloth fitting, or misaligned slates can lead to frustrating sessions and damage to your gear. That’s why understanding how to set up an American pool table the right way is worth the time and effort.
American pool tables differ from snooker or British pool tables—they’re larger, heavier, and typically feature a three-piece slate bed for accuracy. While some models are DIY-friendly, larger or professional-grade tables often require two or more people to install safely and precisely.
This guide will walk you through every phase of setup—from choosing your room and assembling the frame to levelling the slate and stretching the cloth. With each step clearly explained, you’ll avoid common pitfalls and end up with a playing surface that’s flat, firm, and ready for years of action.
So grab your tools, enlist a helper, and let’s transform your space into a world-class pool room.
1. Measure the Room and Plan Your Layout
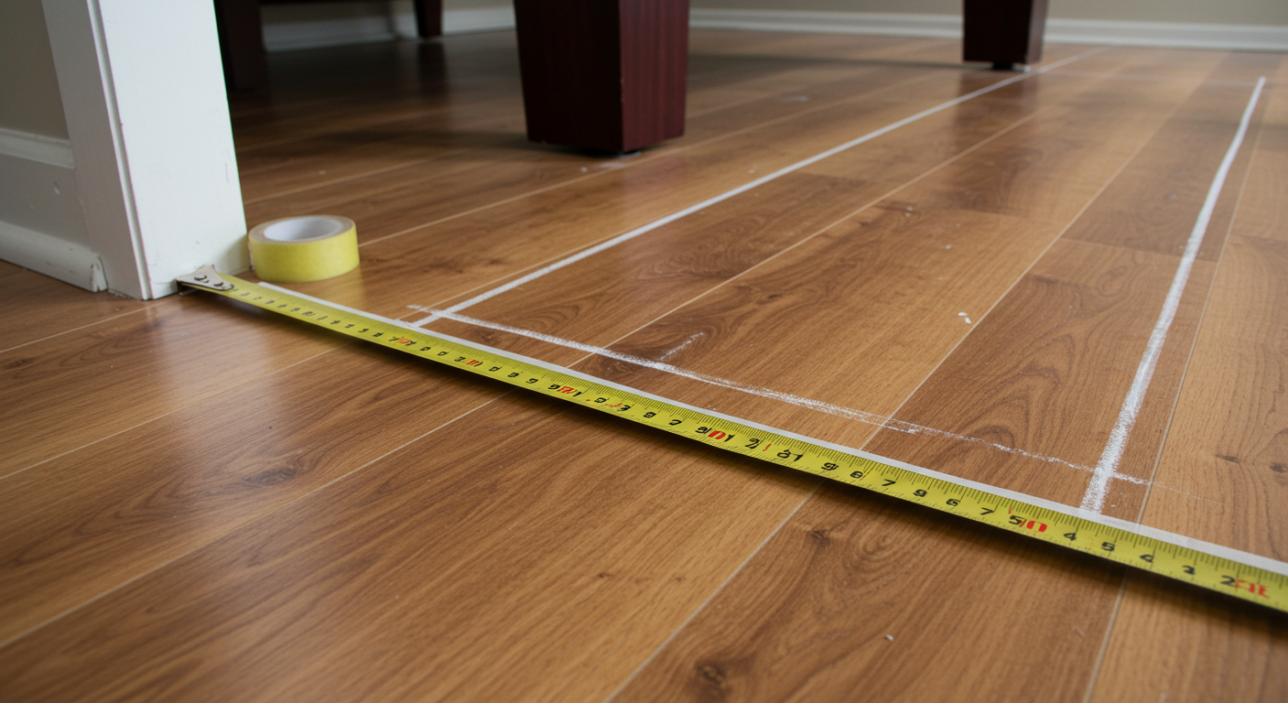
Before you unbox anything, take time to measure your space. American pool tables typically come in 7-foot, 8-foot, or 9-foot sizes. A full-size 8-foot table, for example, measures around 244 cm x 132 cm (96″ x 52″). However, the crucial factor isn’t just the table—it’s the playing area around it.
For comfortable cueing, allow at least 1.5 metres (5 feet) of space on all sides. That means a minimum room size of roughly 4.9 m x 3.7 m (16 ft x 12 ft) for an 8-foot table. Larger rooms allow for seating, cue racks, and lighting setups without crowding the play area.
Use masking tape or chalk to mark your intended table position. Take note of light fittings, wall sockets, radiators, or shelving that may interfere with gameplay or cue movements.
Plan for cue racks and accessories now, as relocating furniture post-installation is tricky. Also, consider installing lighting and ceiling hooks (for drop lights) before the table goes in.
A thoughtful room layout ensures you won’t need to lean awkwardly or damage the walls every time you line up a shot.
2. Unpack the Table and Inspect the Parts
Once your American pool table has arrived, it’s time to unpack and check everything thoroughly. Most tables come in several large boxes or pallets, particularly if you’ve purchased a slate-bed table, which can weigh over 300 kg in total.
Begin by carefully removing all packaging. It’s best to do this in a clear, open area where you can spread out and identify each component. Lay down a clean rug or blanket to avoid scratching parts as you unpack them.
Your delivery should include:
-
The main table frame (often in sections for assembly)
-
Three pieces of slate (wrapped individually)
-
Legs or pedestal bases
-
Rails and cushions
-
Pocket hardware (drop pockets or return system)
-
Cloth (baize), often rolled separately
-
Bolts, screws, brackets, and small tools
-
An instruction manual or installation guide
Check each part for damage during transit. Look for chipped slate, bent brackets, torn cloth, or scratches on the woodwork. If you find anything damaged, contact the supplier immediately—don’t proceed with assembly until you’ve received replacements or clearance.
Also, ensure you have the required tools, which usually include:
-
A power drill or screwdriver
-
Spanners or Allen keys
-
A spirit level
-
Shims or thin wedges
-
Protective gloves
Having everything checked and organised before you start will save you time and stress later. It’s the foundation of a successful installation.
3. Assemble the Table Frame
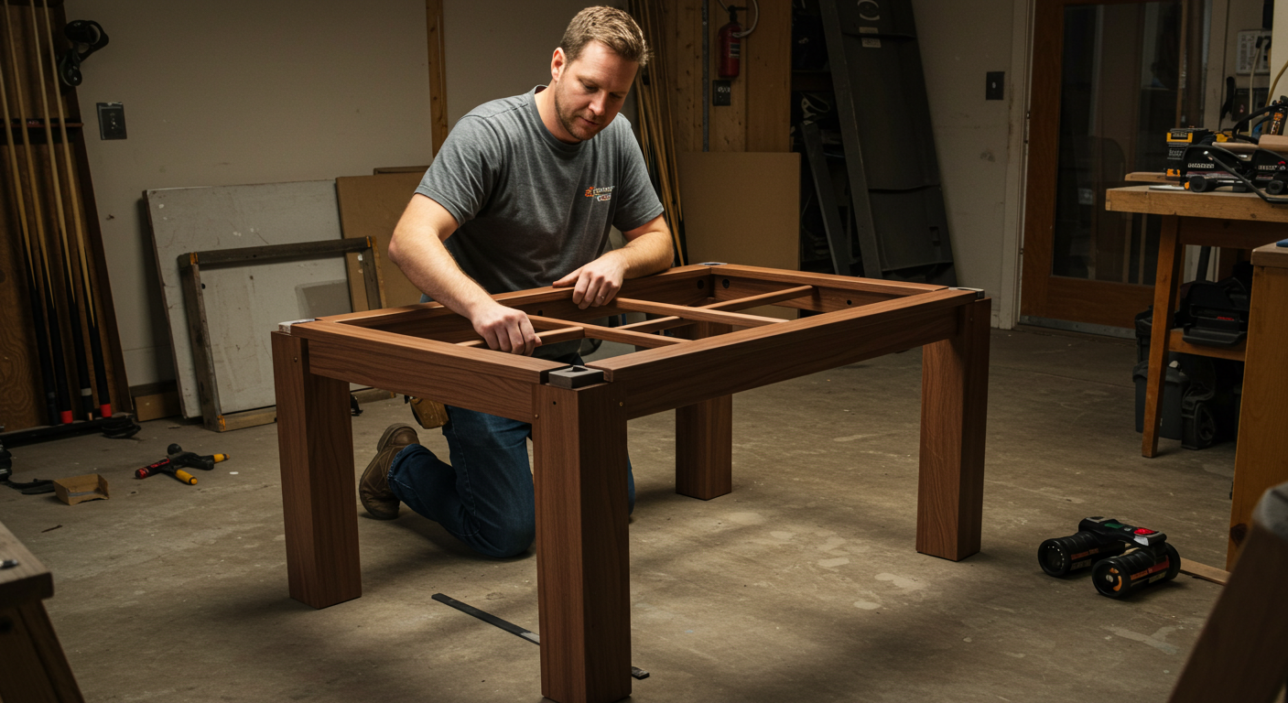
With all parts checked and laid out, the first major step is assembling the table frame. This is the base structure that supports the heavy slate and ensures the table remains stable over time. It’s essential to get this part right—accuracy here affects the entire table’s alignment.
Start by positioning the main cabinet or frame pieces in the centre of your marked playing area. If your table uses a pedestal base or separate legs, attach these first. Most manufacturers provide pre-drilled holes and bolts to simplify this process, but ensure you don’t overtighten at this stage—you’ll need flexibility to adjust alignment later.
Once the legs or base are attached, install any cross beams or support braces included with your model. These provide critical support for the slate bed and prevent sagging over time.
Before tightening everything fully, use a spirit level across the top rails to check that the frame is sitting evenly. If it isn’t, use wooden or rubber shims under the legs to correct it. A level frame now will save hours of adjustment later.
After confirming the frame is square and level, go back and securely tighten all bolts and screws. If your frame uses cam locks, confirm each one is fully engaged.
Take your time with this step. A solid, level frame ensures your slate fits correctly and prevents long-term shifting or wobbling—key for maintaining table performance.
Now your frame is ready, and you’re set to move on to the heart of the table—the slate bed.
4. Position and Align the Slate
The slate bed is the most critical component of your American pool table. It’s responsible for the flatness, bounce, and roll of every shot. Most full-size tables use a three-piece slate, allowing easier transport and more precise levelling. This stage requires care, attention to detail, and ideally a second pair of hands, as each slab can weigh over 100 kg.
Start by placing the centre slate section onto the assembled frame. Align it roughly with the table’s central axis, ensuring it’s evenly positioned side to side. Next, position the left and right slate pieces against it, forming a full playing surface. The aim is to create a seamless, level top.
Take your time adjusting the pieces—even a millimetre gap or overlap can affect ball movement. The seams should sit flush, and the height across all three pieces must be consistent.
Once aligned, use a spirit level to check for height differences between slate pieces and across the table. Use thin playing cards, shims, or felt pads beneath the slate to fine-tune level adjustments.
Now, fill the slate seams with beeswax or a special slate seam filler (some installers use a crayon or melted wax). This creates a smooth, even transition between slabs. Let it set completely before moving on.
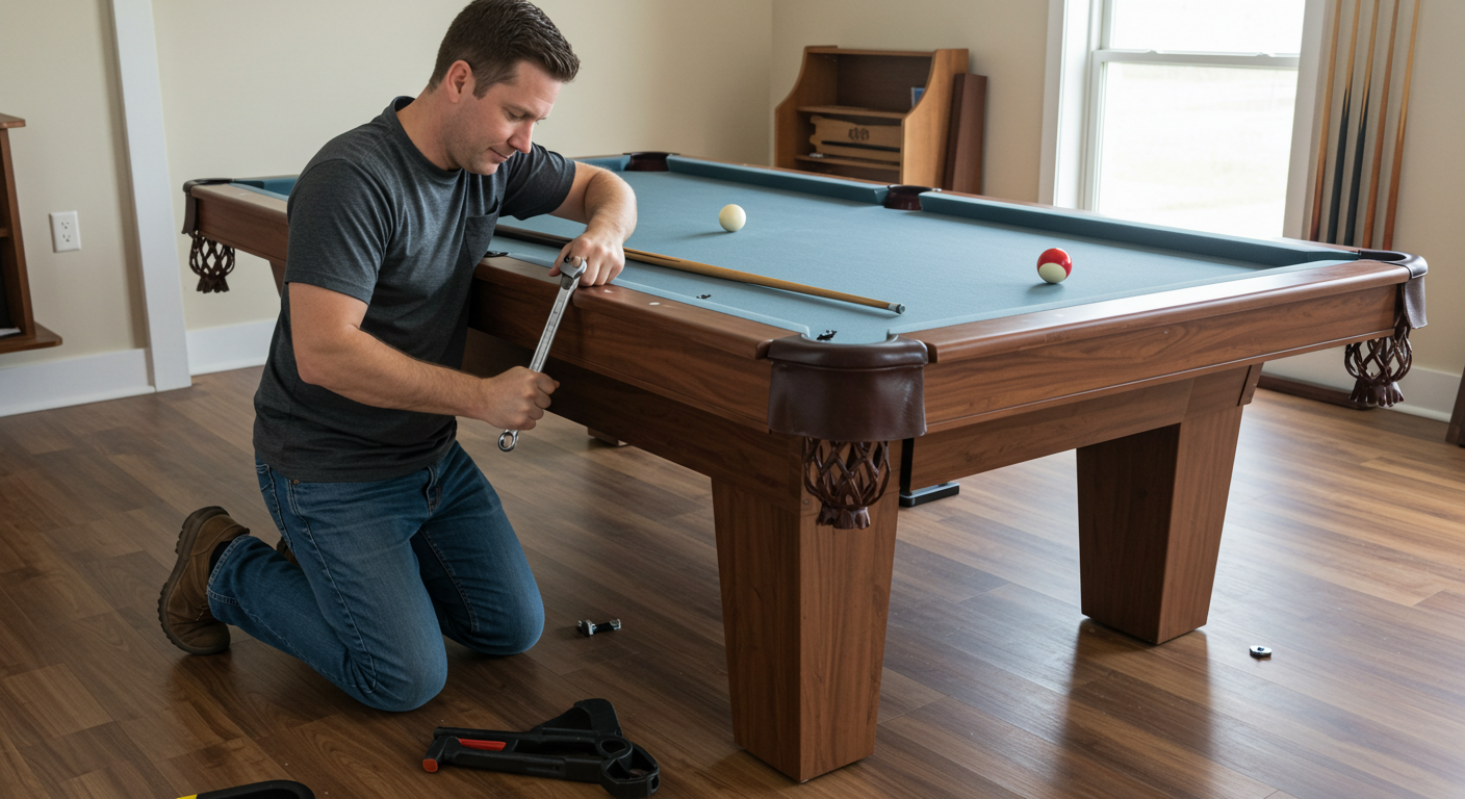
Secure each piece using the manufacturer-provided slate screws, driven directly through pre-drilled holes in the slate into the frame below. Tighten carefully—avoid over-tightening, as it can crack the slate.
Once all three slate pieces are levelled, aligned, and fixed, double-check the entire surface with a spirit level—side to side, end to end, and diagonally.
Congratulations—your table now has a true and level playing foundation.
5. Install the Cloth
Installing the cloth—often called the baize—is one of the most delicate and visually important steps in setting up an American pool table. This fabric not only affects the speed and accuracy of your shots but also defines the table’s overall appearance. Proper stretching and fixing are key to achieving a smooth, professional-looking playing surface.
Begin by placing the cloth over the slate, ensuring the nap (if any) runs from the break end toward the foot spot. Many American pool cloths, such as Simonis 860, are worsted wool, meaning they have no nap and offer a consistent speed in all directions.
Start at the head (breaking) end of the table. Pull the cloth taut and staple or tack it underneath the slate overhang or into the wooden backing, depending on your table’s design. Use a staple gun with fine staples to avoid damaging the cloth.
Once the head end is secured, stretch the cloth toward the foot end, applying even tension. Smooth out any wrinkles or bubbles as you go, then fix it in place. Continue with the sides, working from the centre outwards. Apply consistent tension—tight but not over-stretched—to avoid bagging or tearing.
As you work, check the centre line of the cloth visually and adjust as needed to keep it straight and symmetrical. Wrinkles can be gently pulled out with hand tension or a roller, but avoid using heat or moisture, which can damage the fibres.
Finally, trim the excess cloth underneath and around the pockets with a sharp craft knife or scissors. If your table uses drop pockets or a return system, ensure openings are clean and aligned.
Done properly, a tightly stretched cloth offers a smooth, fast surface that elevates the playing experience dramatically.
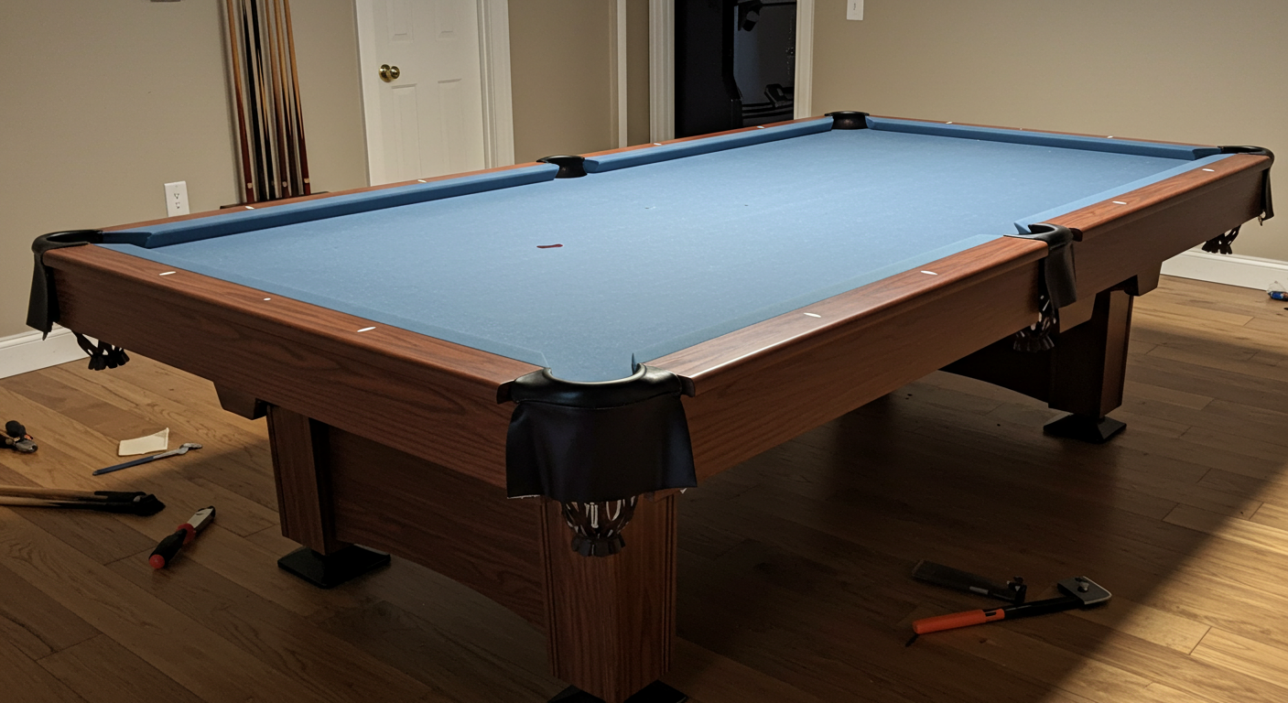
6. Refit the Rails and Pockets
With your cloth stretched and fixed, it’s time to reattach the rails and pockets—an important step that completes the playing surface and ensures consistent ball rebound. Precision matters here; if rails are misaligned or uneven, it can affect the outcome of shots and disrupt gameplay.
Start by identifying and positioning each rail segment. American pool tables usually have six rail pieces—four corner rails and two side rails. Each is fitted with cushions (the rubber bumpers) and may already have cloth attached. Align each rail with its corresponding slate edge and pocket cut-outs.
Install the corner rails first. These usually bolt into pre-drilled holes in the slate and frame. Use a ratchet or Allen key to tighten bolts evenly, without overtightening—this can warp the rail or damage the cloth. Once the corners are in, fit the side rails. It’s essential that the joints are flush and the cushions form a smooth, continuous line.
With the rails secured, check for consistent cushion height. The top of the cushion should sit approximately 1⅞ inches (48 mm) above the table surface, ensuring balls rebound naturally.
Next, install the pocket system. If your table has drop pockets, screw or slot them into the rail recesses. For ball return systems, connect each pocket to the return tracks, ensuring all tubing is secure and that balls can flow smoothly toward the collection end.
Test each pocket by rolling a ball toward it—confirm smooth entry and make sure there’s no cloth interference, gaps, or loose fittings. Adjust screws or angles if needed.
Finally, give the rails a quick clean to remove dust and fingerprints, and run a soft brush along the cloth edge to settle any lifted fibres from installation.
Now your table is nearly ready for action.
7. Final Levelling and Play-Test

With the rails and pockets securely fitted, it’s time to carry out the final levelling and play-test, ensuring your American pool table is truly match-ready. Even the smallest tilt or misalignment can impact gameplay, especially with long, slow shots or delicate positional play.
Begin by placing a spirit level on various areas of the table—across the width, length, and diagonals. Don’t just test the centre; check near each pocket and rail edge. Even after the initial slate alignment, slight shifts may have occurred during cloth installation or rail fitting.
If you find unevenness, adjust by using shims beneath the table legs or slate frame. Many modern tables include adjustable leg levellers, which make this process easier. Adjust one leg at a time, making small tweaks and checking your spirit level readings frequently.
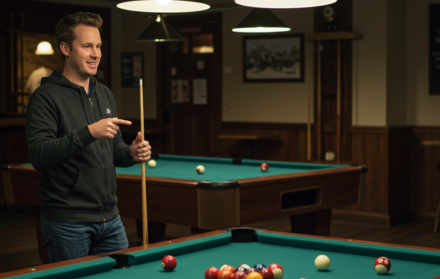
Once the table reads level across all axes, it’s time for a practical test. Roll a cue ball slowly across the table in straight lines, diagonals, and near the rails. Watch closely for any drift or changes in speed. A ball should roll smoothly without veering off course. Repeat this test in multiple directions to confirm consistency.
Next, test bounce response by playing bank shots. Cue balls should rebound off cushions cleanly and predictably—this confirms correct rail height and cloth tension. Try potting balls from different positions to see how the table plays.
Also, check pockets: drop pockets should catch balls securely without bouncing them out; return systems should move balls smoothly to the end tray.
If all feels good—congratulations! You’ve achieved a level, responsive surface fit for serious play.
Now you’re ready for the finishing touches: lighting, cue storage, and final accessories to complete your dream games room.
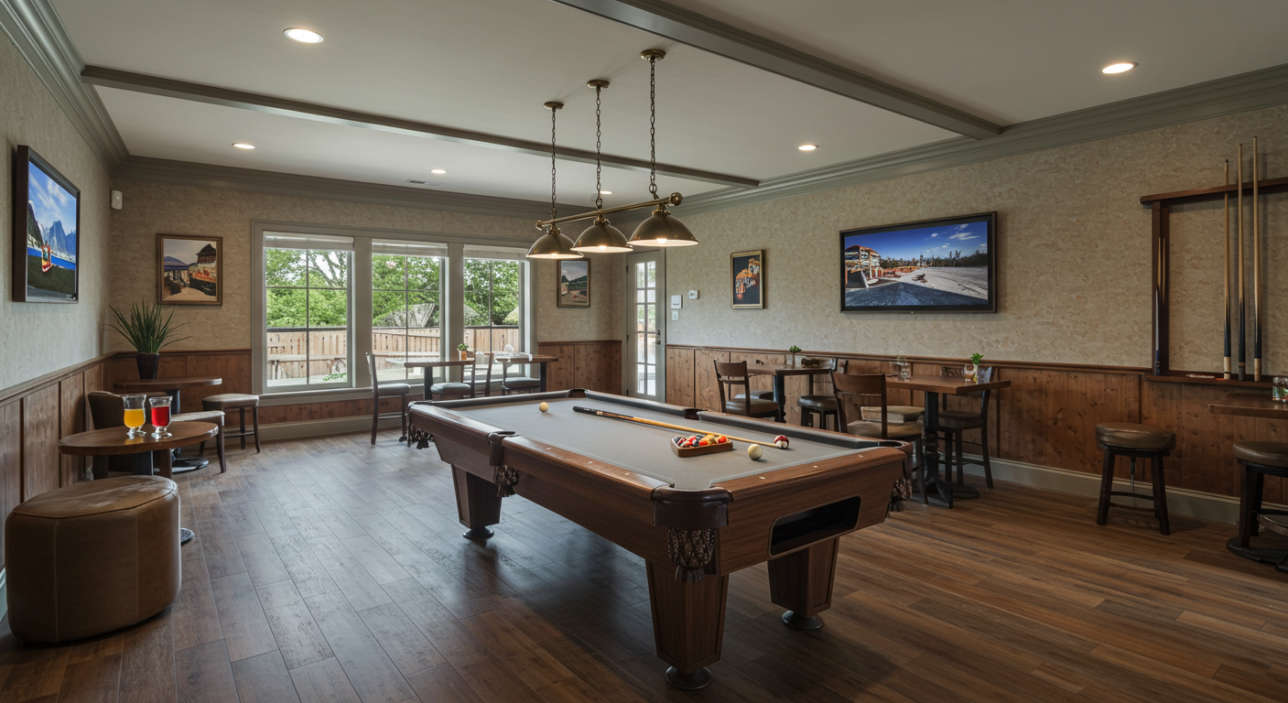
8. Add Lighting and Accessories
Now that your American pool table is levelled and playing beautifully, it’s time to enhance both its functionality and atmosphere with proper lighting and essential accessories. These finishing touches not only elevate the look of your games room but also improve gameplay and comfort.
Lighting
Good lighting is critical for precision play. Shadows, glare, or uneven light can affect your judgement on angles, speed, and ball position. The ideal setup is a dedicated pool table light fixture—typically a three-shade or bar-style unit—positioned 32 to 36 inches (81–91 cm) above the playing surface. This height ensures even coverage without obstructing views or cue movements.
Use LED bulbs with a daylight colour temperature (~5000K) for a bright, natural white light. Avoid warm-toned bulbs, which may alter perception. If ceiling mounting isn’t possible, wall-mounted or floor-standing alternatives can work, though they may require some creative positioning.
Essential Accessories
Once lighting is sorted, focus on accessories that make play smoother and more enjoyable:
-
Cue rack – Wall-mounted or free-standing racks keep your cues straight and tidy.
-
Ball set – Choose quality phenolic resin balls for consistency and durability.
-
Triangle and diamond racks – Ensure you have both for 8-ball and 9-ball formats.
-
Chalk and cue tips – Keep a variety on hand, and store chalk in holders to reduce mess.
-
Brush and cloth cleaner – Regular maintenance tools to preserve your baize.
Other optional upgrades include scoreboards, drink shelves, cue tip shapers, and a durable table cover for when the table isn’t in use.
Once everything’s in place, your setup will feel truly complete—a professional-grade playing experience in the comfort of your home.
Conclusion: How To Set up An American Pool Table
Setting up an American pool table at home may seem like a hefty project, but by taking it step by step, you can achieve professional-level results that last for years. Each phase—from levelling the frame and aligning the slate, to stretching the cloth and fine-tuning the rails—contributes to the accuracy, longevity, and enjoyment of your playing experience.
By now, your table isn’t just another piece of furniture—it’s the heart of your games room. Whether you’re a casual player looking to unwind after work or an aspiring pool competitor sharpening your skills, a properly set-up table ensures every session is smooth, fair, and enjoyable.
Moreover, investing time in the setup process adds value to your equipment. You’ll better understand how your table works, how to maintain it, and how to fix minor issues if they arise. It also sets the stage for developing your game with precision—from mastering cue ball control to running racks under perfect lighting conditions.
Don’t forget to keep your table clean, your cues straight, and your balls polished. A little maintenance goes a long way.
Most importantly, enjoy it. Host tournaments with friends, practise drills solo, or simply have fun sinking the 8-ball in style. Your American pool table isn’t just for play—it’s for building memories, skill, and camaraderie.
Here’s to many smooth breaks, perfect bank shots, and unforgettable nights around the table.